Painting Cupboards: A DIY Story of Transformation
It all started one crisp Saturday morning. The sunlight streamed through our kitchen windows, highlighting every nick and scratch on our once-pristine cupboards. My wife and I exchanged a glance. “What if we just… painted them?” she asked, with that spark of inspiration I can never resist.
The idea seemed bold, maybe even a little daunting. But as we stood there, cups of coffee in hand, I could see it—a fresh, bright kitchen without the need for a complete remodel.
Why Painting Cupboards Is a Game-Changer
Painting cupboards is one of those rare projects that hits the sweet spot between affordability and impact. You don’t need to replace your cabinets or endure weeks of renovation. Instead, a fresh coat of paint transforms the look and feel of your kitchen in just a few days.
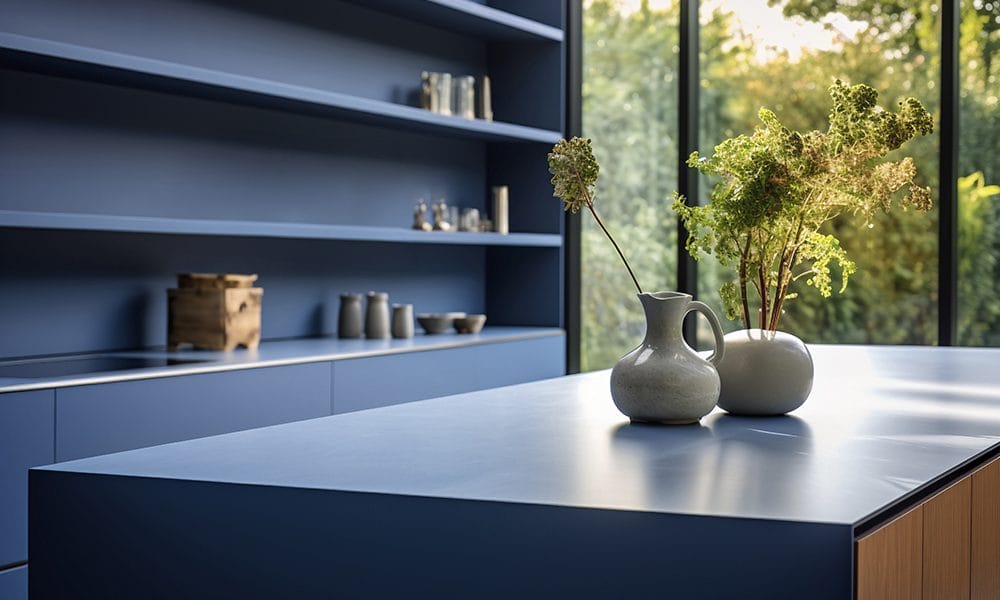
Whether you’re drawn to a clean, classic white or a bold, trendy navy, the possibilities are endless. And the best part? It’s a project you can tackle yourself, with a little patience and preparation.
The Steps to Success
When we decided to paint our cupboards, I knew we needed a plan. Here’s the process that worked for us:
Preparation Is Key
Before you even think about opening a can of paint, you need to prep your cabinets. We removed all the doors and hardware, labeling each piece so there’d be no confusion later. Then came the cleaning—a mix of warm water and a degreasing solution ensured no residue was left behind.Sanding for Smoothness
Sanding isn’t glamorous, but it’s essential. We used medium-grit sandpaper to rough up the surface, ensuring the primer would stick. Afterward, a quick wipe-down with a damp cloth removed any dust.Priming Like Pros
I’ll admit, this step tested my patience. But applying a high-quality primer made all the difference. It created a smooth, even base that allowed the paint to shine.The Painting Process
Here’s where the magic happened. Using a small roller for the flat surfaces and a brush for the details, we applied two coats of satin-finish paint. The trick was thin, even layers, letting each coat dry completely before adding the next.Reassembly and Admiration
Once everything was dry, we reattached the doors and installed new hardware. The transformation was incredible—our kitchen felt like an entirely new space.
Choosing the Right Colors
One of the most exciting parts of painting cupboards is choosing the color. Here are some popular options to consider:
- Bright Whites: Timeless and clean, white paint makes small kitchens feel bigger and more open.
- Neutral Grays: Versatile and sophisticated, grays pair well with almost any countertop or backsplash.
- Deep Blues or Greens: Add a pop of personality with rich, bold shades that create a dramatic effect.
- Two-Tone Combinations: Try a lighter color on the upper cabinets and a darker shade on the lower ones for added depth.
Lessons Learned
If there’s one thing I’ve learned, it’s that patience pays off. Rushing the process leads to drips and uneven coverage, so take your time. And don’t skimp on quality materials—investing in good primer, paint, and brushes will save you headaches later.
This project also taught me to embrace imperfections. Sure, there were moments when the paint wasn’t cooperating or a cabinet door needed a second sanding. But those small challenges only made the final result more rewarding.
The Impact
Our freshly painted cupboards didn’t just change the look of our kitchen—they changed how we felt in the space. Every time I step into the room, I’m reminded of what’s possible with a little creativity and elbow grease.
Painting cupboards is more than a weekend project; it’s a way to reclaim and personalize your home. So, grab your brushes, pick your colors, and get ready to transform your kitchen into a place you love even more.
